
The old saying goes that a picture speaks a thousand words, leading us to wonder what epic stories we craft with the shots we capture on our holidays. But what happens when that highly-anticipated travel photo doesn’t quite turn out as we expected? Often when we are back home after a dream escape, we share photographs with friends and family, only to come across one such image that doesn’t manage to do justice to the landscape that inspired it. We find ourselves explaining that the photo doesn’t nearly capture the beauty of the sunset-drenched beach on your Barbados holiday, or the scale of the Mayan temples of Bali.
If this is a situation you often find yourself in, you will be relieved to know that it doesn’t have to be the case. With the right technique, you can take home holiday photos that show off your experience at its very best. Here we speak to some of the web’s top bloggers to find out their best insider travel photography tips.
Composition
The first principle that must be grasped in getting a great photo is composition – the way you frame the shot. This element requires no in-depth technical knowledge, only the instinctive ability to find an aesthetically-pleasing angle on a view. One useful place to start, though, is with the rule of thirds. This rule states that photographers should imagine the image they are capturing is divided into nine equal parts by two horizontal and two vertical lines. The important elements of the photo should then be placed along these lines or their intersections in order to create interest, drawing the eye towards the subject(s) of the photo. Many DSLRs (digital cameras) and camera phones have the option of showing this grid as a guide when you are capturing an image.
However, there is much more to creative composition than the simple rule of thirds. Any rule has exceptions and once you are comfortable with the basic structure of a balanced image, it’s a good idea to experiment. As Audrey from Uncornered Market comments:
“It can sometimes feel difficult to get a unique angle or shot from a place or site that is heavily photographed. Take the ‘postcard shot’, but then look around for small details or tilt your camera at an angle to see if a different perspective emerges. Play around with perspective to capture your unique experience with the place.”
If you’re struggling to find an interesting angle or composition for your photograph, Matt from Land Lopers suggests taking a step back and exploring the scene for a moment:
“It sounds simple, but so many people forget to look all around them when trying to frame a photo. Look up, look behind you, be curious and seek out unique angles and shots and you’ll end up taking photos that best capture your holiday and also look amazing.”
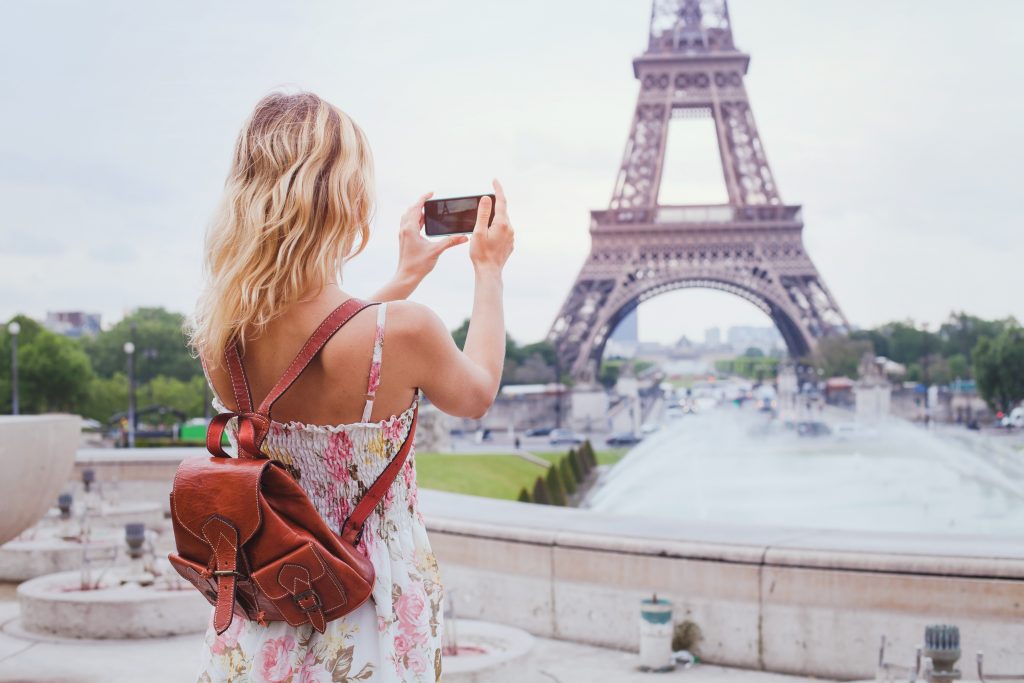
It’s also worth considering how you will emphasise the natural features of a photograph by using subjects. For example, if you are photographing a huge ancient ruin in Bali, you might consider including a figure in the image to give a real sense of scale. Alternatively, to capture a feeling of movement, why not slow down your shutterspeed or use burst mode on your iPhone to achieve a motion blur around the subject of the image? As Charli Moore from Wanderlusters says:
“When it comes to travel photography I believe it’s all about the story and so I try to keep this in mind when considering my composition. Don’t just point and shoot. Play about with the angle, look for the most appealing subject or try to elevate a mundane view by incorporating something unexpected.”
Capturing the light
https://www.instagram.com/p/BKPzsz2B3FQ/
Lighting can be the distinguishing factor between a rather average photograph and one that truly catches the eye. When you’re on holiday, there is little opportunity for artificial lighting equipment, so it’s important to work with what the sun gives you. Luckily, most holiday destinations are chosen specifically for their gorgeous climate, making finding the right light a much easier task.
Becky from Global Grasshopper explains how to find the best lighting for your photos while on holiday:
“Taking good photos relies on good natural light and this isn’t always too easy to predict when you are in a new destination. Do your research and make sure you catch the sunrise and sunset – there are plenty of apps and websites devoted to calculating sunrises and sunsets at any place in the world to make this easier for you.”
Sunrise and sunset are particularly good for creating those soft, atmospheric images, particularly of landscapes, because the light is much softer. Find out when the sun will be low using apps like Sunrise Sunset and LunaSolCal. However, if you’re looking for those vibrant, saturated shots of details or architecture, the midday sun can be fantastic for photography, throwing textures and colours into sharp relief.
For photographers using DSLRs, there are more functions available on the camera to get the best out of the light. Becky suggests that, “if you want to take landscape shots, whether it’s large stretches of desert or busy cityscapes, the best way to keep the whole photo sharp from foreground to background is to select Aperture Priority mode (Av).” In this setting, the camera adjusts the other settings automatically to ensure that your aperture – which is what determines how much of the photo is in focus – remains a constant. An aperture (or F stop) of around 8 is a good choice to keep the whole scene in focus.
However, you don’t need gorgeous sunshine to capture beautiful scenes. Take your camera out regardless of the weather, because often grey clouds and moody skies can make for dramatic landscapes. Charli Moore from Wanderlusters says that the key factor is to remember to change your settings as the conditions change. She says: “it’s important to make adjustments to your settings and even your approach to capturing the moment depending on the weather and time of day.” With the correct camera settings, any weather and light can be utilised to create brilliant images.
Keep it candid
Everyone is looking to capture different elements of their travels, but undoubtedly one of the most important features to render in a photograph is your loved ones enjoying their break. Ashley Fleckenstein from Ashley Abroad claims, “I’m personally a fan of portrait photography so I think my best travel photos are of people.” Whether you’re looking to capture the lives of the locals where you are staying, or simply want to snap your kids playing on the beach, there are a few important factors to keep in mind.
Becky Moore from Global Grasshopper says that an essential element in getting good travel portraits is to keep your images as natural as possible:
“To prevent your holiday snaps from looking a little forced, avoid shots with people posing and looking self-conscious. Instead, try to catch them when they are completely unaware. To do this use a telephoto lens to capture friends without them realising and to soften the background, put more emphasis on the person.”
If you don’t have a telephoto lens, simply get your camera out when your friends and family are immersed in the excitement of your holiday. But remember, if you want to take photos of strangers, always ask for their permission first.
Beat the crowds
One of the main barriers travellers encounter when trying to capture that perfect photo of a famous landmark or view is the hundreds of other people trying to do exactly the same thing. It can be difficult to get an atmospheric shot of a stunning lake or mountain range with crowds of people clustering in the foreground. In these situations, Creative Bloq suggest that budding travel photographers have to be savvy in order to beat the crowds. They explain that getting out early will not only ensure you have the area to yourself, but will also reap the best conditions:
“Getting up before sunrise on a day that promises you sunshine will reward you with the best light: warm and soft. Don’t forget your tripod; it will be gloomier than you think at sunrise and a low sensitivity setting will give the best results.”
Alternatively, you could choose to take photos at night. Creative Bloq also maintains:
“Lots of cities and towns look better at night. Any litter is lost in the dark and the most attractive buildings are illuminated. Shoot while there’s still some colour in the sky, before it goes inky black; it will give you more attractive images with less dense shadows.” Whenever you decide to take your camera out, avoiding the usual tourist hours will allow you a more natural and authentic image to take home.
Interact with your surroundings
The best possible way to be inspired to take better photographs is to become totally immersed in the local environment and culture of the area you are travelling in. As Digital Photography School aptly points out, “Photography is not only about visual inspiration. Try the local food, smell local markets and hear local music, as this will help you to better understand the story of the place.” Whilst you’re trying that delicious local dish or watching a local band, you’re sure to want to take a picture or two. Once you have got a feeling of the atmosphere of the country you’re visiting, you may find that ideas for photo opportunities pop up around every corner.
If you are hoping to photograph people in the local community, this is even more important. If you don’t understand the culture you are encountering, you are less likely to know where to look for interesting shots. Many people will be happy to feature in your images, but do remember to approach individuals first, as in some cultures having your photo taken by a stranger is unappealing. As Digital Photography School advise, the first step is to “learn how to say ‘Hello’ in the local language, and greet the locals when taking their photo.”
Get the right gear for you
Every photographer agrees that it is the talent of the person behind the camera that really makes for great photos. However, in order to take your images up a level, you could consider getting equipment suited to your style. Ashley Fleckenstein suggests, “If you’re looking to improve your travel photos, I would possibly upgrade your camera. I noticed a huge difference when I went from a point and shoot to a DSLR!” Going from a compact camera to a larger DSLR will give you more settings to choose from, and you can also switch your lenses up for particular purposes, such as wide-angle lenses to capture a whole landscape, or a macro lens to get all the details of that exotic flower.
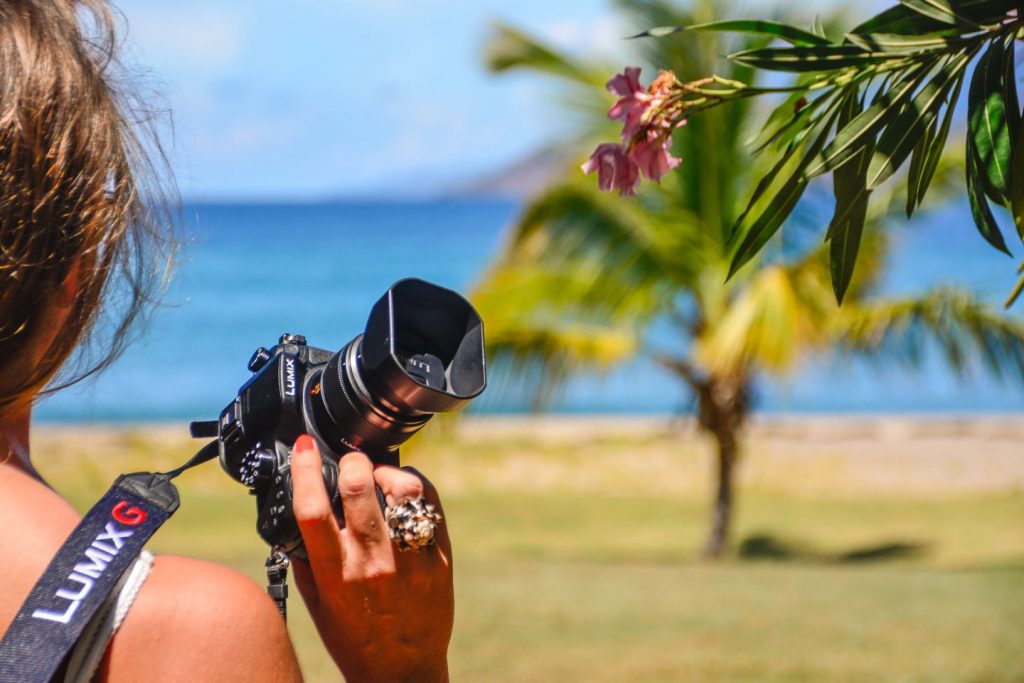
However, Charli Moore suggests taking a variety of kit with you on holiday. She says:
“My first recommendation is to carry both a smartphone and a compact mirrorless camera like my Panasonic Lumix GH4. I take most of my shots with my GH4 but when you want to be subtle and your subject is close, then a smartphone can work well.”
If you’re planning an adventurous trip, consider a smartphone mount or a GoPro plus a waterproof case, so that you can take your camera with you as you try out everything from skiing to scuba diving.
Clever kit packing

Of course, the more photography gear you intend to use, the more you have to carry with you on your travels. To avoid over-packing, Charli advises:
“Consider the kind of images you want to take and what lens would be most suited. Are you hoping to capture landscapes? Fast-paced action? Macro subjects, or animals far away? Decide on what focal length is best suited to your preferred style and invest in one or two lenses. For a long time I used the kit lens that came with my Lumix as I tend to only travel with one or two lens at most. The worst thing you can do is load yourself up like a pack-horse and then struggle to stand under the weight of all your kit.”
For a simple and safe way to store your precious camera, Ashley recommends using clever packing tricks. She says, “I swear by packing cubes. They keep your entire suitcase organised and make packing and repacking a breeze.” Alternatively, invest in a camera bag if you are taking a DSLR and lenses, as these will have specialised compartments for all of your kit.
Maximising your smartphone shots
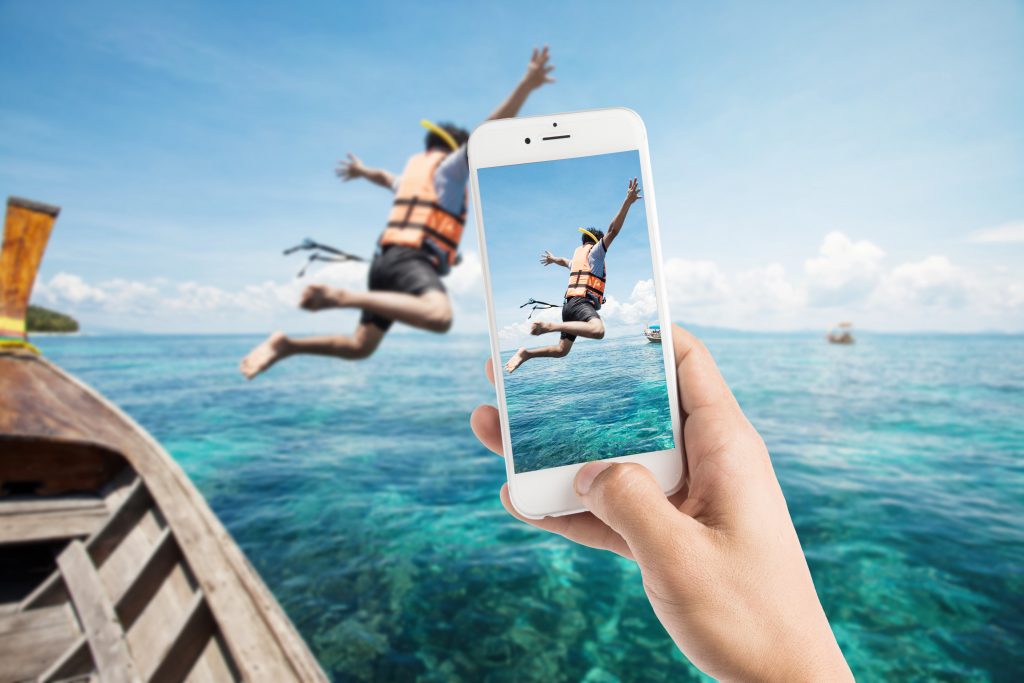
Not everyone wants to take a large camera and multiple lenses with them on their relaxing beach holiday, but, luckily, smartphone cameras are getting better each year, meaning that travellers can take great photos from the convenience of their phone. However, it is important to learn about the capabilities your phone offers in order to get the best photographs possible.
Audrey suggests:
“Take control of the light and exposure when using a smartphone as your camera. Use the built-in ability to tap on the area in the image you’d like to focus on so that certain details are not too dark or blown out. On the iPhone, for example, hold your finger and slide it up and down for exposure so that you are getting the light reading from where you want it in the frame. This also allows you to better narrow the focus.”
There are also plenty of lesser-known hacks and shortcuts that you can use to easily improve your smartphone photography skills. Buzzfeed explains that, by default, “you can just open the camera app on your iPhone and press the volume button to take a photo”. Similar rules apply to many Android and Windows phones. This is the kind of feature that it is good to know about before you leave for your holiday, as using the volume key can create a much more stable, sharp shot. Learning the simple hacks and capabilities of your smartphone can allow you to get photos almost as impressive as any professional camera could capture.
Editing photos
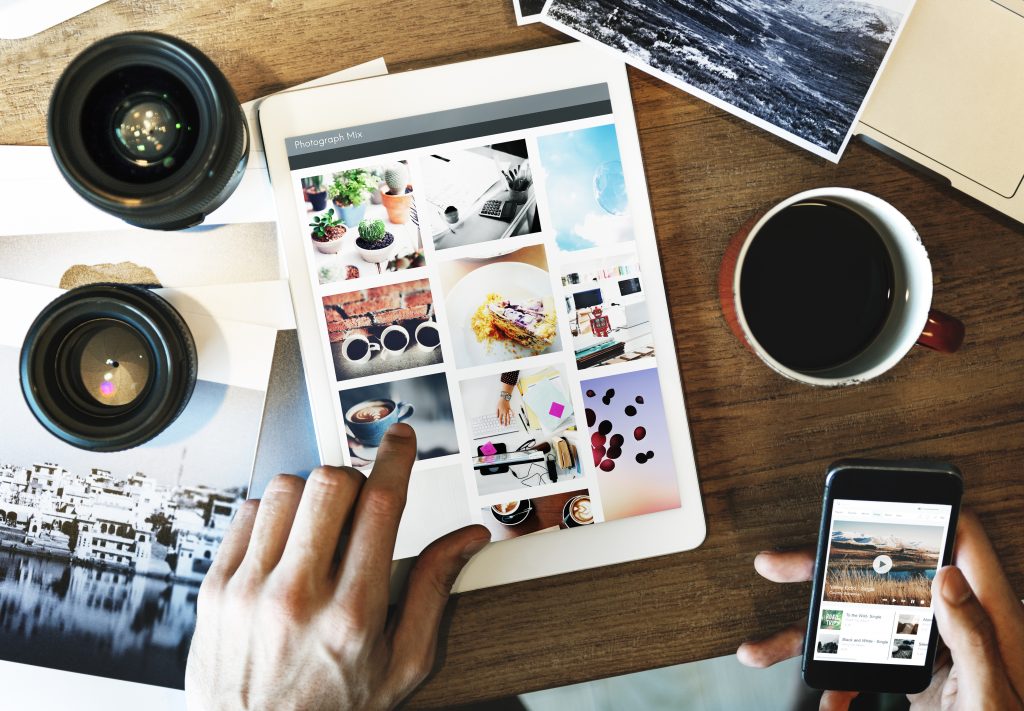
So you’ve taken some fantastic photos during your holiday, but you’ve arrived home and decided that a couple of shots could to with some finishing touches. Whether you’re using a programme like Photoshop or are simply uploading your smartphone photos through Instagram, there are plenty of ways to edit your photos to look the way you desire. Look on the app store for photo editing apps such as VSCO, and read our blog about the top travel apps to find out why bloggers rate these tools so highly.
However, when you’re new to photo retouching, it can be easy to get a little carried away. Over-edited photos will immediately stand out as fake, and may actually distract from the qualities of the original photo. To avoid this situation when editing smartphone photos, Buzzfeed suggests:
“The trick to maintaining the integrity of your photo is to not filter and edit them too heavily. Edit your image as normal, then dial back everything to 50%. Last year, Instagram finally introduced the ability to edit filter strength. Once you select a filter, tap it again to reduce its intensity.” Alternatively, show your images to a friend before saving to see if they think they look realistic.
Research and practise
Whilst all of these tips are invaluable in helping you to hone your photography skills, it is important to remember that everyone improves in a different way – and for many, it is through practice.
Stephen and Ness from Flying the Nest point out this out:
“The more time you spend photographing the better you will become. Take inspiration from your favourite Instagrammers, study their images and see if you can find out why you think it just works. To become a better writer you need to read, to become a better photographer you need to photograph.
So grab your camera, get inspired by these brilliant bloggers, and get ready to write the story of your perfect escape through photos!
Leave a Reply
You must be logged in to post a comment.